BMW X5: Removing And Installing/Replacing Heater/Air Conditioner Fan
Necessary preliminary tasks:
- Disconnect battery negative lead.
- Remove lower trim from instrument panel.
Release screws (1).
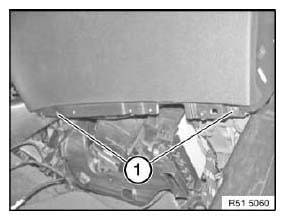
Fig. 10: Identifying Heater/Air Conditioner Fan Screws
Release screws (1) and remove air duct (2).
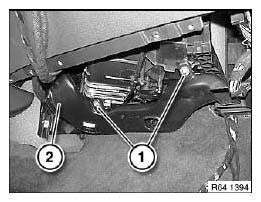
Fig. 11: Identifying Air Duct With Screws
Release screws (1).
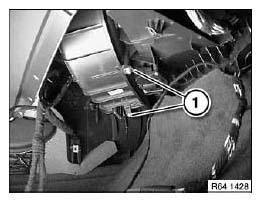
Fig. 12: Identifying Screws
IMPORTANT: Risk of damage to instrument panel trim (2) if it is pulled away too forcefully.
Release screw (1).
Carefully pull instrument panel trim (2) away in direction of arrow and feed out fan (3).
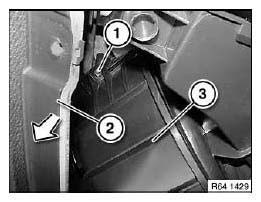
Fig. 13: Pulling Instrument Panel Trim
Disconnect plug connection (1).
Installation:
Make sure cover (2) is securely seated.
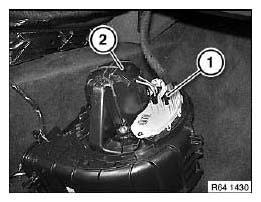
Fig. 14: Identifying Plug Connection With Cover
Replacement:
Disconnect plug connection (1) and release screws (2).
Remove controller for fan (3).
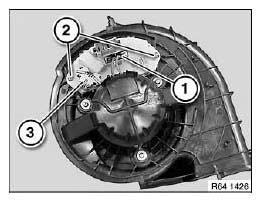
Fig. 15: Identifying Plug Connection And Controller Fan With Screws
REPLACING CONTROLLER FOR HEATER/AIR CONDITIONER FAN
Necessary preliminary tasks:
- Remove insert for right glovebox.
Disconnect plug connection (1).
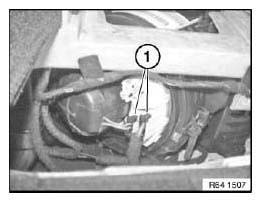
Fig. 16: Identifying Plug Connection
Release screws (1) and remove controller (2).
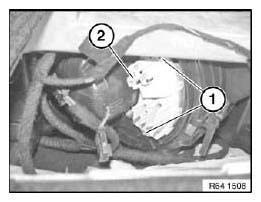
Fig. 17: Identifying Controller And Screws
REPLACING CONTROLLER FOR HEATER/AIR CONDITIONER FAN (US VERSION)
Necessary preliminary tasks:
- Remove heater/air conditioner fan.
Disconnect plug connection (1) and release screws (2).
Remove controller (3).
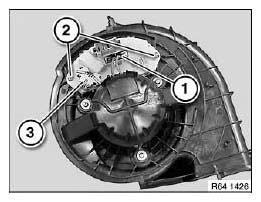
Fig. 18: Identifying Plug Connection And Controller Fan With Screws
REMOVING AND INSTALLING COMPLETE REAR CABIN FAN
Necessary preliminary tasks:
- Remove complete center console.
If necessary, release screw (1) on both sides and disconnect plug connection on rear cabin fan controller.
Remove rear cabin fan housing (2) from air duct in center console (3).
Replacement:
Remove rear cabin fan controller.
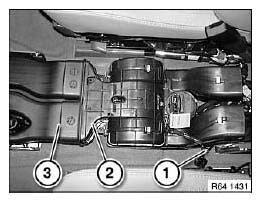
Fig. 19: Identifying Rear Cabin Fan Housing And Center Console

